

Gruyere Herb Loaf
A tender, fragrant bread with a tunnel of nutty Gruyere cheese.
Remember the jingle for Coca Cola….”I’d like to teach the world to sing”. I would change that to “I’d like to teach the world to bake….. bread!” There are a lot of us out there who have “yeastaphobia” - a condition characterized by a fear of using yeast in cooking. The fear is based on past experience in creating a dough that doesn’t rise and turns out the consistency of a hockey puck. But let me play the therapist here and help you past this crippling phobia to a world of soft, pillowy, homemade breads and rolls for they are a joy to make!
My tutorial by which I became chummy with yeast came when we moved to North Africa, specifically to Tunis where my young children didn’t know how they could take school lunches in a culture where American-type sandwich bread did not exist. In fact, the only bread available at the time in this formally French-colonized country was baguette. Not even “khoubiz” or pita as we know it, generally associated with Muslim countries. But Tunisia’s, geographical separation from the Middle East proper, had thrown out the pita in favor of the baguette and french pastries - who wouldn’t do the same? And though we liked baguette, the Tunisian variety was slightly tinted with a greyish color and subtle flavors of cloves or cardamom which was not pleasant with peanut butter. We were American after all and had been raised on Wonder Bread.
So it became my task to make white bread - at least once a week to have on hand for sandwiches during the week. Our kids never realized how spoiled they were and thereafter expected homemade bread every week. I made a variety of loaves including some half wholewheat sometimes dilly bread, but the favorite was a basic white, a very simple recipe with uncomplicated ingredients. And it became second nature to me to make bread. There were incidents of complete failures that were thrown out like the pita, for which I blamed outdated yeast, but most often I achieved success!
So let me take you with my therapeutic hand through a very basic tutorial and then I will leave you to try your skill on this easy, delicious Gruyere Herb Loaf…a loaf with which you can proudly succeed!
STEPS TO MAKING BREAD WITH YEAST: (with perhaps more detail than you would like, just to make sure I’ve covered everything.) Once you’ve done it a time or two following these detailed instructions you will be cured of your phobia. Not a bitter pill to swallow, this!
#1 - Make sure the date on your yeast has not expired. (I keep yeast in my fridge or freezer to prolong its shelf-life). Use regular Active Dry Yeast which comes in little packets and is granular in appearance. (Don’t use fast-acting yeast for this recipe).
#2 - Place the indicated amount of yeast in a small bowl in a small amount of water. The recipe will usually indicate how much water: 1/3 - 1/2 cup. Sprinkle yeast over the top of the water and give a quick stir Allow to rest for 10 minutes until it is frothy on top. If you add a tablespoon of the sugar from your recipe that helps activate your yeast more quickly.
#3 - Mix in the remaining ingredients, in a large mixing bowl or the bowl of your electric mixer, making sure that none of the ingredients are hot. (They can be warm but not hot or you might kill the yeast). Add about 2 cups of the flour and mix well until batter is smooth. If making by hand stir ingredients together with a wooden spoon in a large mixing bowl.
#4 Kneading time: Once the dough has enough flour in it that it becomes difficult to use your machine, change to the dough hook and add the remaining flour. Kneading by hand can very gratifying and nurturing but also tedious. If you have a machine with a dough hook you can let the hook feel gratified as it does the job. If kneading by hand, push the dough away from you with the heels of your hands, then fold it over itself and push again, adding a bit of flour as it becomes sticky while you’re working. Continue for 7 - 8 minutes until the dough comes together and is smooth and can be formed into a smooth ball. I always give it a pat to see if it feels like a baby’s bottom or perhaps just to say there we did it. The kneading process develops the gluten, making the dough stronger and more elastic for better volume and gas retention. This is vital to the structure of the bread and produces a finer grain, texture and flavor to your product.
#5 Place the dough ball, top-down in a well-greased bowl, roll it around so that the top is covered with oil, then turn it right side up in the bowl. Cover with a towel or piece of plastic wrap and let it sit in a warm-ish place on your counter, not by an open window or near the fridge, etc. If you have a bread-proofing function on your oven you can place the covered bowl in the oven.
#6 Let the dough rise the amount of time specified (until about double its original size) then check to see if it has risen enough. Two techniques: with your index finger poke a hole in the center of the ball. If the hole stays without closing back up, it is ready. The windowpane method - take a piece of dough and stretch it out between your hands slowly. If it stretches to become thin enough to see light through that is also a good indication that it has risen enough. If your dough is under-proved, it will create a harder, denser loaf.
#7 Give your dough a little punch down, by kneading it just a few times to release some of the air bubbles, then shape it into your final shape by rolling and folding the ends under to create the desired loaf. Place dough in your prepared, greased pan, top up, as described in your recipe. Cover again and place back in your warm spot and let it rise again until almost double.
#8 - Preheat oven to indicated heat, then place the bread in the oven on a middle shelf. Do not overcrowd - make sure the hot air can circulate around the pans when cooking more than one container at a time. Cook following directions, then test for doneness. The bread should be golden to brown and when tapped on top have a bit of a hollow sound. You can gently lift the bread out of its container with a long knife or spatula to make sure it is browned on the bottom. It if doesn’t appear to be quite done, continue baking another 5 minutes or so. Some people claim that their bread sizzles when done, if you don't mind putting your ear close to the hot loaf.
#9 - Let bread sit in pan for 5-10 minutes then turn out of pan and let sit upright on a cooling rack. If you want to serve your bread warm, wait another 5- 10 minutes before slicing. If you try to slice the bread when it is hot it just smushes to create a dense slice. Be sure to slice with a knife with a serrated edge and saw gently through the warm bread.
#10 - There you’ve done it! If I were with you I would pat your hand and we would slather a warm slice with butter to celebrate! Now that you’ve done it, I proclaim you cured of your phobia and send you on your way to make all kinds of wonderful yeasted products. I‘m so proud of you!
gruyere herb loaf
1 pkg. dry yeast (1 tablespoon)
¼ cup warm water
4 - 4 1/2 cups all-purpose flour
½ cup soft butter
½ cup milk
½ cup hot water
½ cup sugar
1/3 cup softened butter
1 ½ tsp. salt
1 egg, beaten
1 tab. crushed basil
1 tab. crushed oregano
1 tab. garlic powder
1 tab. dried parsley
2 tab. minced dried onions
1 teaspoon coarsely ground black pepper
2 cups grated Gruyere or Swiss cheese
-Combine yeast with warm water and allow to stand 10 minutes. Add softened butter, milk, hot water, sugar, salt, egg and spices. Mix in 2 cups flour and beat well. Add the rest of the flour, 1/2 a cup at a time, using a wooden spoon to mix in by hand. Turn out onto a lightly floured surface and knead for 10 minutes. Or if using a mixer with a dough hook, add enough flour until dough is no longer sticky and pulls away from the side of the bowl. Knead with dough hook for 5 minutes on low speed.
-Shape dough in a ball then grease a medium-large bowl with oil. Place the dough ball into the bowl, right-side down to grease the top then turn it over. Cover with a towel, plastic wrap or foil and place in a warm corner of your counter and let it rise till double in size (about 1 1/2 hours). If your oven is equipped with a bread proofing function, preheat and place the bowl in the oven for about 1 hour.
-Meanwhile, prepare baking pan. Generously butter sides and bottom of a tube pan with half of the softened 1/3 cup butter. Shake flour in the tube pan to coat butter. Place in freezer until butter is firm. Repeat process with butter and flour and freeze until dough is ready.
-Check the dough to see if it is sufficiently prooved or risen, then turn out on to a floured counter and knead a few times to get rid of some of the air bubbles, about 1 minute. Roll dough into a long snake, about 20 inches long. With a rolling pin flatten the dough and roll to a 5 inch width. Sprinkle the grated cheese down the center of the dough. Beginning at one long edge, roll the dough, sealing in cheese. Pinch edges together then place in prepared tube pan seam side down. Let rise, covered in warm place until doubled (45 minutes – 1 hour).
-Bake at 350 degrees 35-40 minutes till browned on top. Brush warm loaf with butter. Let sit in pan for 10 minutes then turn out onto a cooling rack and place right side up to continue to cool. This flavorful bread is great served warm or at room temperature. It also makes excellent toast the next day or two. For a variation try adding diced ham or cooked bacon to the cheese filling.
-Serves 8 - 10

Knead the dough pushing with the heels of your hands….

….then fold the dough over itself, for 7 - 8 minutes.

Mix and knead dough until it is smooth, then create a roundish ball.

Place kneaded dough into an oiled bowl, cover and let rise.
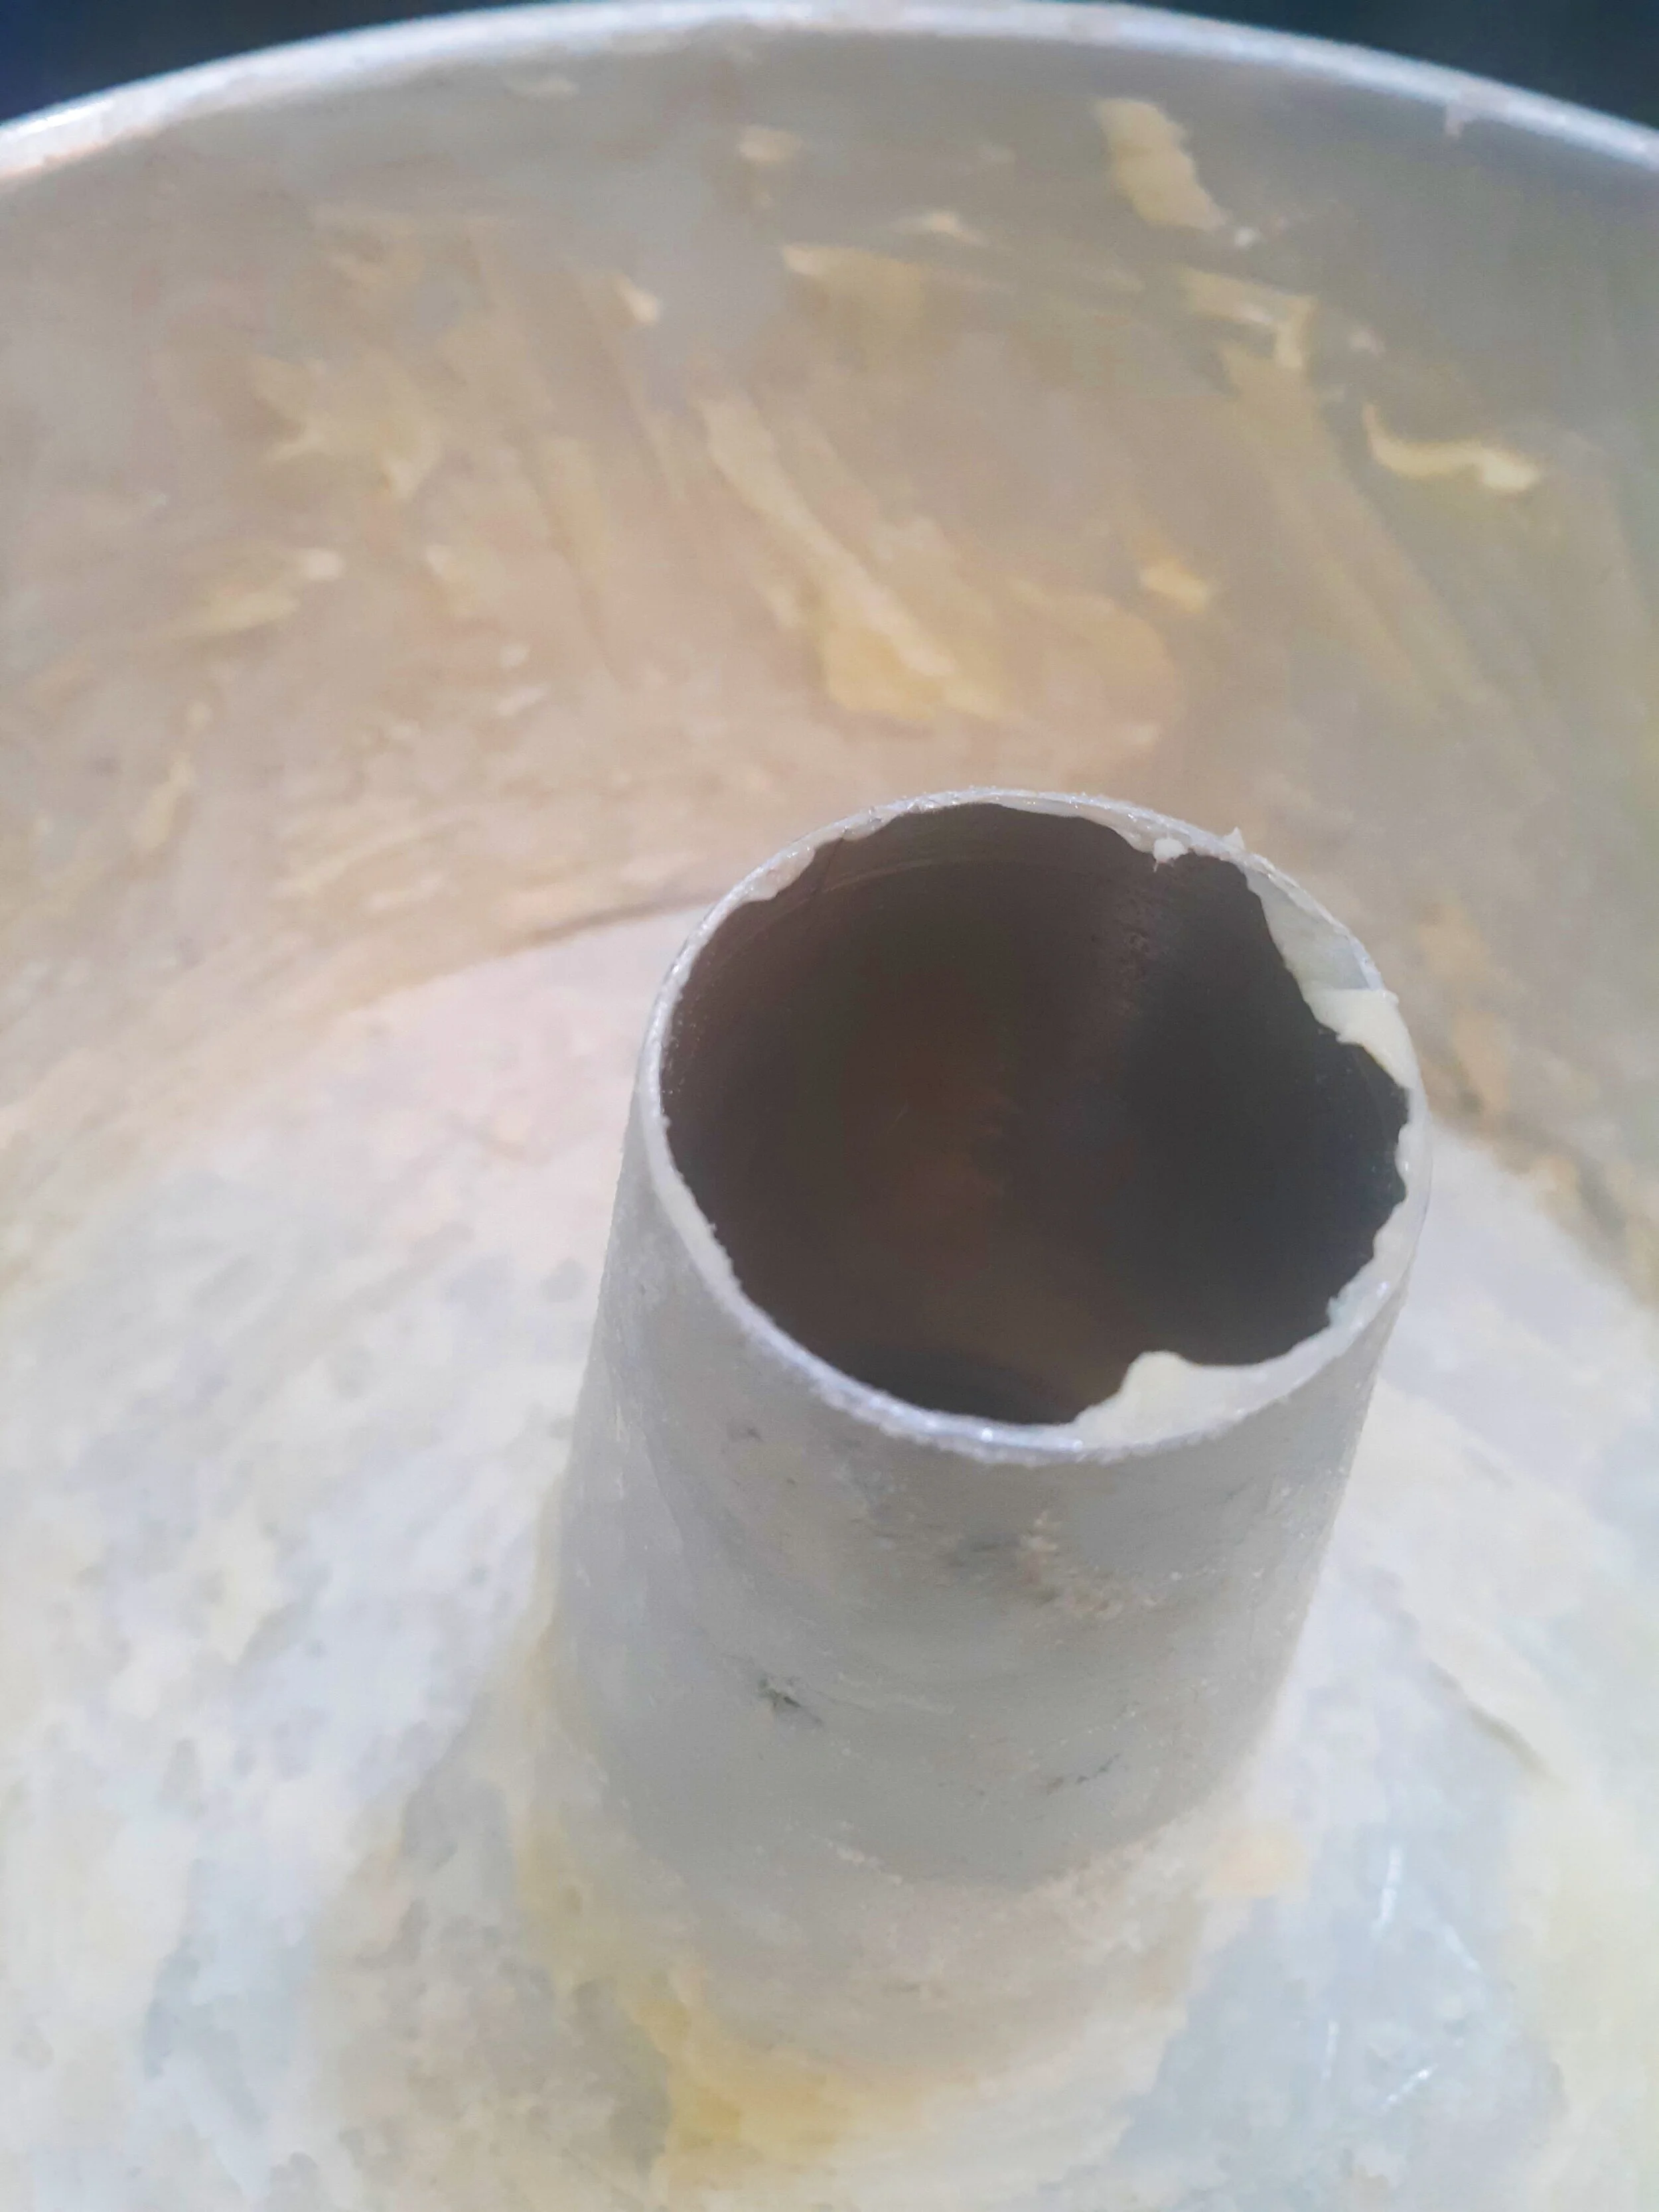
Heavily butter and flour a tube pan, 2 times, chilling well after each time.

After rising, roll dough into a long snake and then place in buttered pan.

Let rise in pan for almost on hour, until double.

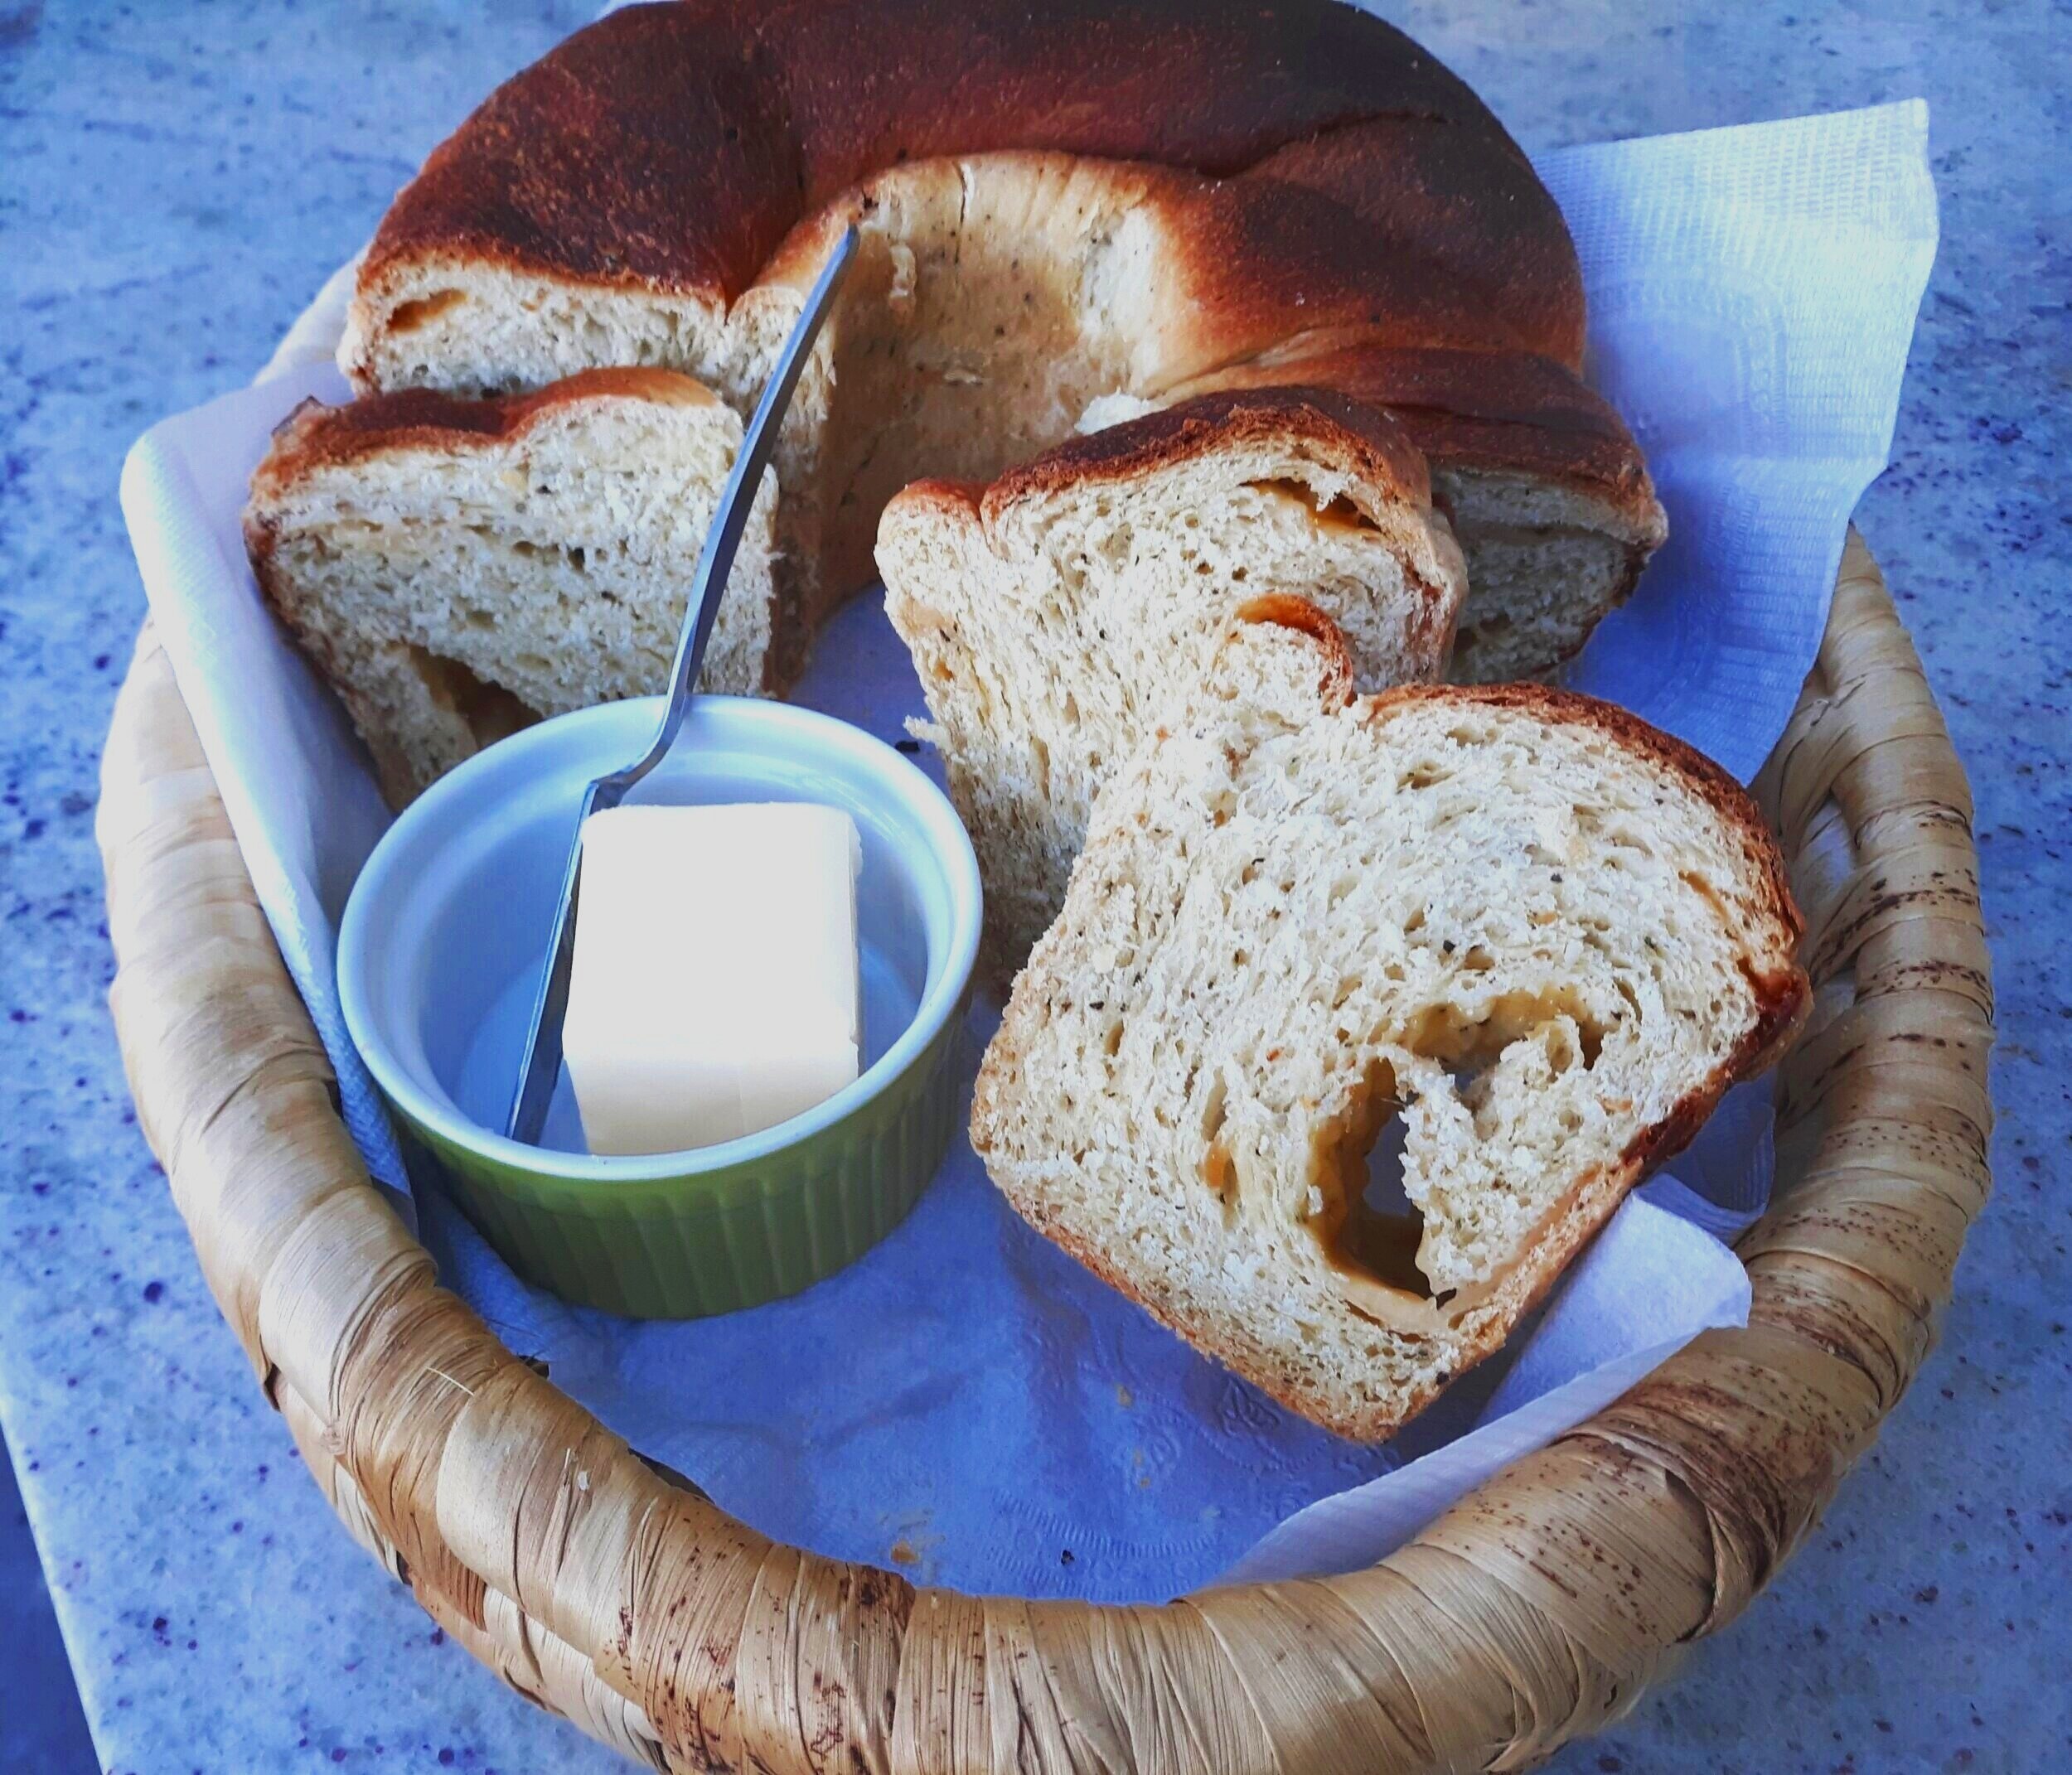
What a beautiful loaf!

Slice the bread and serve with butter.
PERSNICKETY NOTES:
*The amount of flour needed in the recipe will vary, place to place, by variety and the weather on any given day. This is due to the moisture content in the flour which varies. A good rule of thumb is to work in enough flour to create a dough that is just barely no longer sticky and pulls away from the sides of the bowl in a mixer or no longer sticks to your hands when hand-kneading. With experience, you will get to the point when you can “eye-ball” or feel that enough flour has been added.
*This is an enriched dough (containing eggs and butter) and takes a longer time to rise than some. Be sure to let it rise until double as it will not expand much during baking (about an hour.)
*A tube pan is just that - a round, high pan with a hollow tube in the middle, often used to make angel food cakes or other cakes with a hole in the middle, similar to a bundt pan but with straight, higher edges of about 6 inches.
*Other cheese can be used in the center than gruyere. Parmesan, Manchego, Irish cheddar - any cheese that has a similar nutty flavor works well. The cheese melts and leaves a tunnel in the middle of the bread, with the cheese melted into the sides of the tunnel.
*The butter and flouring technique of the pan gives the bread a unique buttery and flaky crust.